How to Install Android SDK and ADT Plugin in Eclipse Kepler
March 30, 2014
Android is the fastest growing mobile operating system. We can create a huge number of applications using Android platform. Android operating system is based on Java programming language. In this page we are introducing how to create Android environment in eclipse. You can choose eclipse software as Juno, Kepler or Luna version of eclipse. To develop android application in eclipse, we need
1. Android SDK
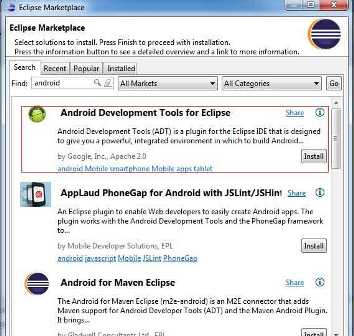
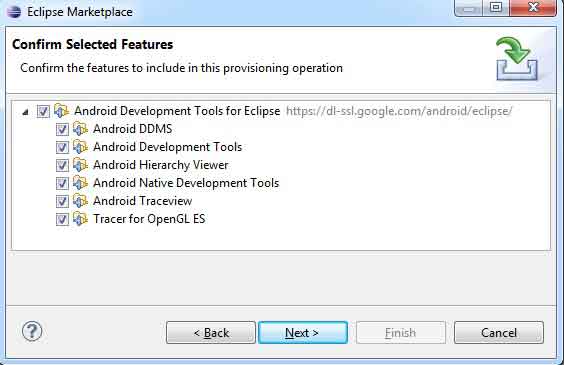
2. Android Development Tools (ADT Plugin for Eclipse) We will install Android Development Tools (ADT) and Android SDK using Eclipse Marketplace. 1. Go to Help -> Eclipse Marketplace and search for android. Select Android Development Tools For Eclipse and install.


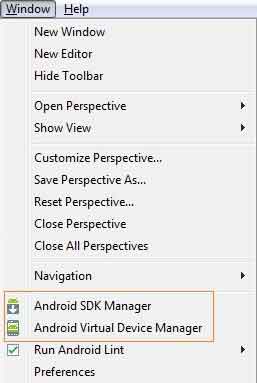
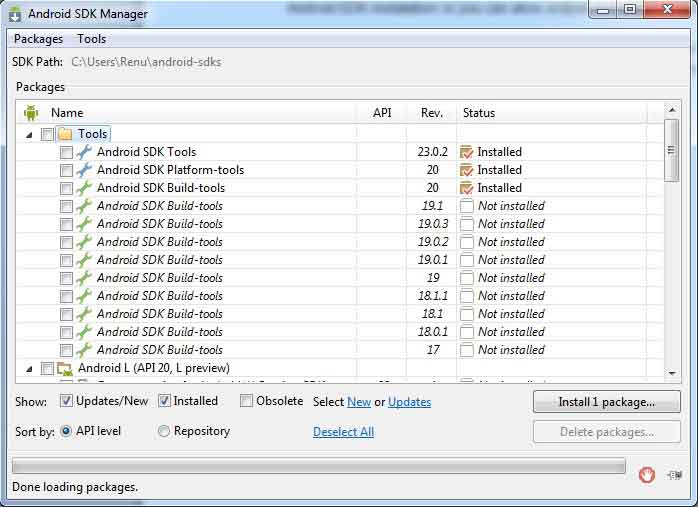
4. To check the successful installation, click on Window menu in eclipse. You must be able to see Android SDK Manager and Android Virtual Device Manager.


6. Enjoy Android Development.You may like the below topic.
Android + Eclipse Simple Example Step by Step


